 After 22 years, I released an update of a software I wrote in the end 1990's for the Amiga platform. It is a driver for the MacroSystem MaestroPro, a fully digital sound board. Along with the update, I have opened the source code of that library.
The sound driver itself is not that interesting, actually. I don't think there are many people on this world still using the sound board. What's more interesting is how I changed the project, to make it open-source and compilable under Linux and other modern platforms. That's what this article is about.
Versioning (or the lack of)
The first problem I faced was rather unexpected. Back in the good old Amiga days, I hadn't used revision control systems like CVS. Being just a hobby developer, I didn't knew about their existence nor their purpose. Instead, I frequently made backups of my source codes, so I wouldn't lose them in case of a harddisk failure, or after a botched code redesign. But besides that, programming was a surgery on the open heart of the source code, with no way to revert to a previous state that was known to be working.
As result, I found multiple different versions of the project on my Amiga harddisk, and I had to figure out what the latest one was. In this project I was lucky, because I had added a changelog to the main file of the source. I just had to find the copy with the most recent changelog.
Without a revision control system, the source of all older releases are lost, so I didn't even try to recreate a history from the backups. The last version on the Aminet was V41.40, but I couldn't find the source of that release any more. What I found instead was a V41.50 that was never released. I cannot remember why I decided not to release that version. Maybe the changes turned out to be a regression? Maybe I just lost interest in the Amiga, and didn't bother to release it any more?
Anyway, I could at least find the latest version of the source code. What to do with it? As I became a professional software developer since then, it was clear to me that I would not go on with just keeping the latest source code version (and some random backups), but I wanted to use a revision control system now.
I prefer to use git today. It would fit nicely into my development environment, and would permit to publish my source codes in my GitHub repository. But git was never ported to the classic Amiga, and probably never will due to its complexity.
Olaf Barthel did a port of subversion though. The last release was in 2009, and bases on a very old Subversion version 1.1.4. It wouldn't be much fun to use it, but it would be feasible.
There is also a CVS port made by Frank Wille, but I never really liked CVS, so this was no option for me.
So svn and git were the only candidates, with a strong preference to use git, but svn as the only option that would work on AmigaOS. The decision was connected to the next question.
Compilation
On what platform do I want to continue developing?
I could go on and develop the project on the Amiga, like I did in the 1990s. I had everything I needed there. I used GoldEd as editor, with customized macros for compiling my projects. I used PhxAss as assembler, and SAS/C as C compiler. None of this software is still maintained, and SAS/C was a commercial product that is not available any more. With these strict requirements, just a few people would be technically able to participate in the project.
Today, Amiga enthusiasts use the vbcc toolchain for development. It is still actively maintained. And it runs on AmigaOS, but also on all major operating systems. As editor, Visual Studio Code is a preferred choice because there is an Amiga Assembly Add-on available. It supports syntax highlighting, inline documentation, debugging, and much more.
These are the missing pieces of the puzzle. With vbcc, it is possible to build the project on Linux and other platforms, so almost every Amiga developer is able to participate. Developing on Linux also enables me to use git and all the other tools I got used to. But with just a few modifications to the makefile, the project could still be built on AmigaOS.
I decided to go the Linux way, but it's a decision that every retro developer has to do for themself. Cross-building an Amiga project on Linux would be comfortable (and fast), but is not really "retro". Building on AmigaOS would be the true retro spirit, but would leave me with an outdated and partially unmaintained toolset.
Porting
It was easy to copy the source files to my Linux file system, and initialize a git project there. The next problem I faced was that I had to port the makefile. It was tailor-made to my AmigaOS environment, with special assigns for include files and binaries.
I created a new makefile that was using env variables instead. AMIGA_NDK now points to the unpacked AmigaOS 3.2 NDK, while AMIGA_INCLUDES points to the include files of external dependencies (like MUI). I installed vbcc so all the commands were in the $PATH.
After that, I restructured and rearranged all the source code files. The project now only contains my own files that are absolutely necessary for building the project. An invocation of make then builds the project on my Linux machine.
I18n
There was an unexpected problem with the charset. While all modern operating systems use UTF-8, AmigaOS does not support it, but uses ISO-8859-1 instead. The result is that the repository contained an awful mix of both charsets. All files that are intended to be used by the git environment (like the README.md file) are stored in UTF-8. Other files that are AmigaOS related (like AmigaGuide files) must be stored in ISO-8859-1 instead.
I was hoping that I could define the correct encoding for each file type in an .editorconfig file. But sadly, Visual Studio Code ignores the charset settings and instead uses UTF-8 by default. It was too easy to accidentally destroy all special characters (like the German Umlaut in my family name) that way.
The only solution I found was to use UTF-8 or ISO-8859-1 only where absolutely necessary, but for most files I used ASCII as the lowest common denominator. An own make target make check checks all files for illegal characters, enforcing the proper usage of the encodings.
Testing
Of course I want to test (and run) the result on AmigaOS, either in UAE, or on a real Amiga.
On UAE, the created files can just be copied straight to the Amiga harddisk directory, and then immediately used in the emulated Amiga.
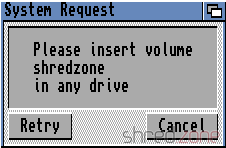
For the real Amiga, it's a bit more difficult though. One way is to create an ADF disk file using xdftool, and copy the files to it. That ADF file can then be copied to an USB stick, and read in the Amiga using a Gotek floppy drive emulator.
A better way is to use a simple NFS server that is mounted on both the Linux and Amiga machines. Files can be easily exchanged that way. Of couse it requires that the Amiga has a network connection.
Release
Back in the Amiga days, making a release was a fully manual process. For this purpose, I had a separate directory with a release template. I manually copied all compiled files to the proper places of that template, then packed it, and uploaded it to the Aminet.
Now I want the git project to be self-contained, so all the files of the release template are in the distribution directory. The make release target builds the entire project, then creates a fresh release directory, copies all the files to the correct places, and creates an lha package.
On a modern Linux machine, the entire process (from a clean checkout to the distribution package) takes less than a second. 🤩
And that's it. The source of the maestix.library is now open and available at GitHub. The first release that was built on the new environment, can be downloaded from the AmiNet.
CI/CD
You may have laughed now, but it's true: It is possible to do CI/CD with Amiga projects!
vamos is a virtual Amiga runtime environment that permits to run simple Amiga commands on Linux. It's just a CPU and API emulation, not a full-blown emulator like UAE, but it is sufficient to run unit test suites.
There are Docker images like docker4amigavbcc that, for example, permit to automatically build commits using GitLab CI.
And since it's easy to upload new packages to the AmiNet, even Continuous Deployment would be possible. Just create a version tag, and let your CI/CD chain do the rest. 🙂
Altogether, it is possible to develop these retro projects in a state-of-the-art fashion, with a modern IDE, source versioning, platform neutral development, unit tests, and even CI/CD.
 The AmigaOS offers a debug console as a simple way for debugging. Log data can be written via the linkable
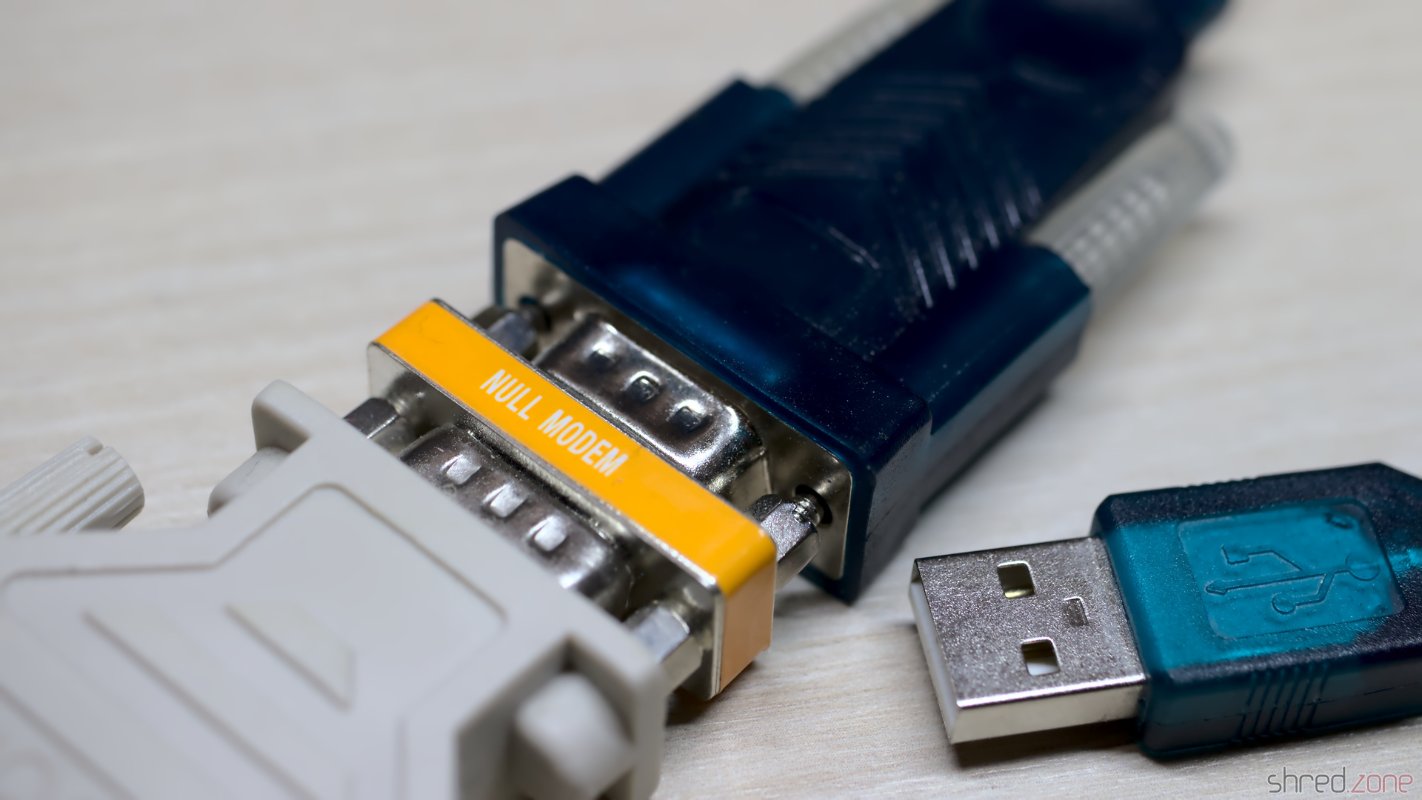
 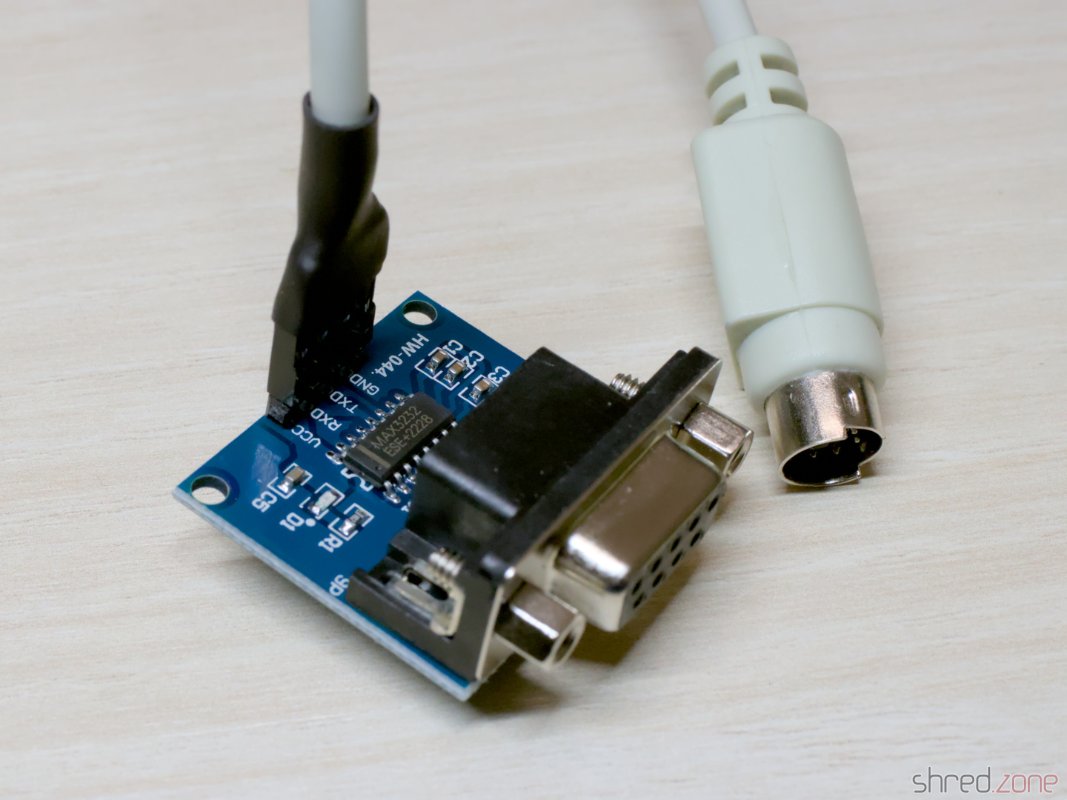 Unlike other Amiga models, the CD32 has no dedicated RS-232 port. Instead of that, it provides a simple serial interface at the Aux port that is connected to Paula's UART pins internally.