In the first part, I disassembled the Sidecar. In this second part, I will fix all the broken things and put the Sidecar back together in its original state.
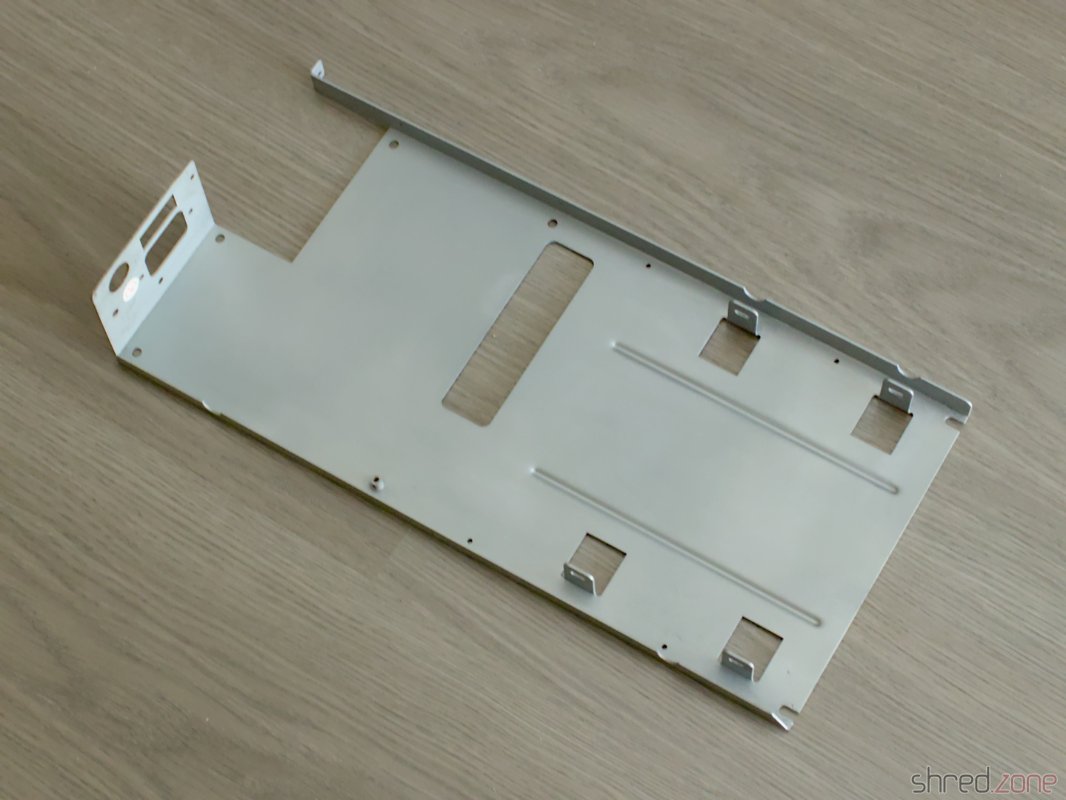
Let's start with the mechanics. The floppy/PSU frame had some rust spots. I used a sanding machine to remove them all. Then I used zinc spray to protect the metal and restore the original look. The result was much better than expected. The frame now looks almost links new.
I got the overhauled PSU back. @DingensCGN, who already overhauled my Amiga 1000 PSU, did an excellent job again. He replaced all electrolytic capacitors and the power filter, removed the luster terminals and inserted a new pull relief. I also asked him to add a connector for a 12V fan. The original fan was a 230V model and was said to be awfully noisy. I never liked noisy computers, so I will replace it with a modern 80mm Noctua fan.
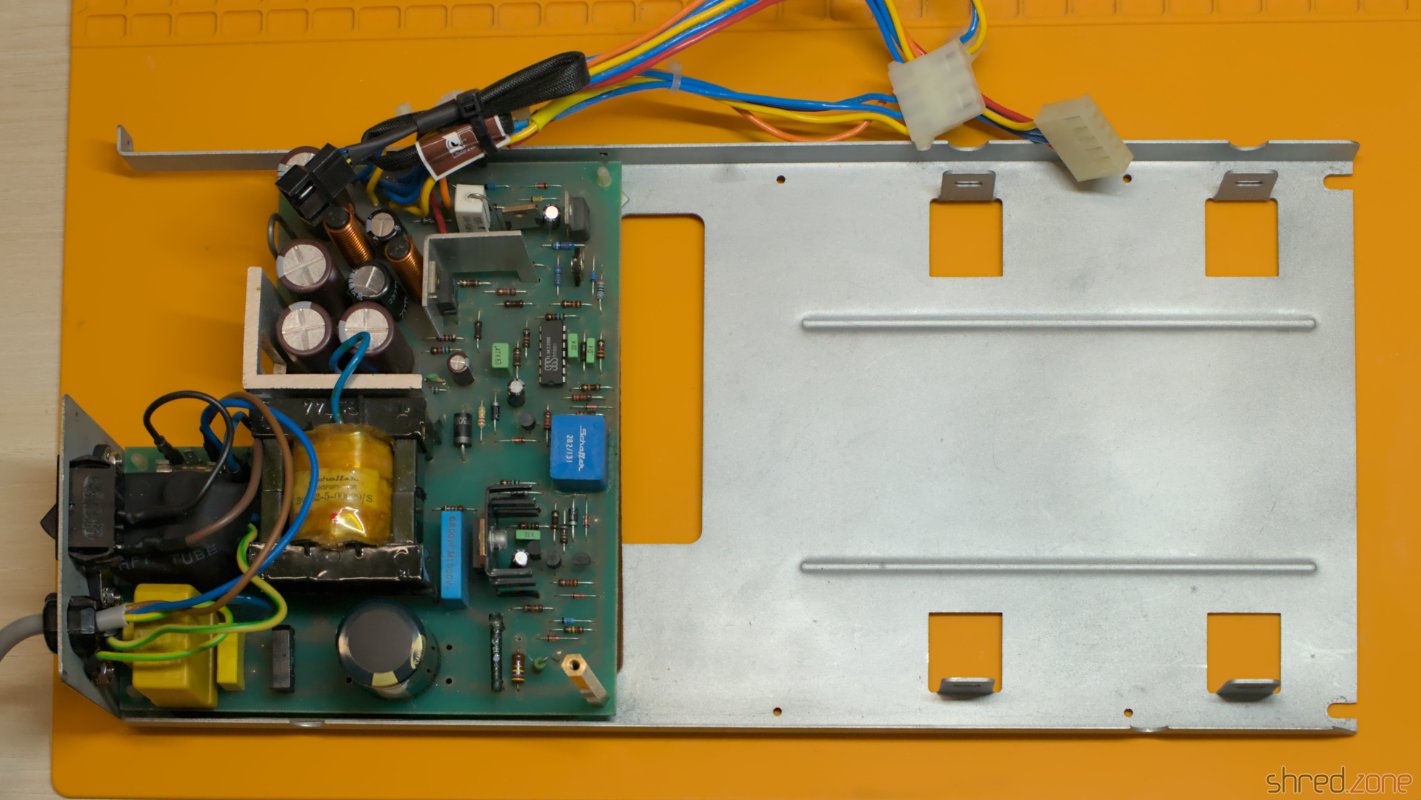
I'm always relieved to know that a power supply is safe to use, properly grounded, and won't damage the machine or electrocute me. 🙂
I was also lucky enough to find a Chinon FZ-502 at an online auction. This type of floppy drive type was commonly used in a Sidecar and would restore the original look of the front.
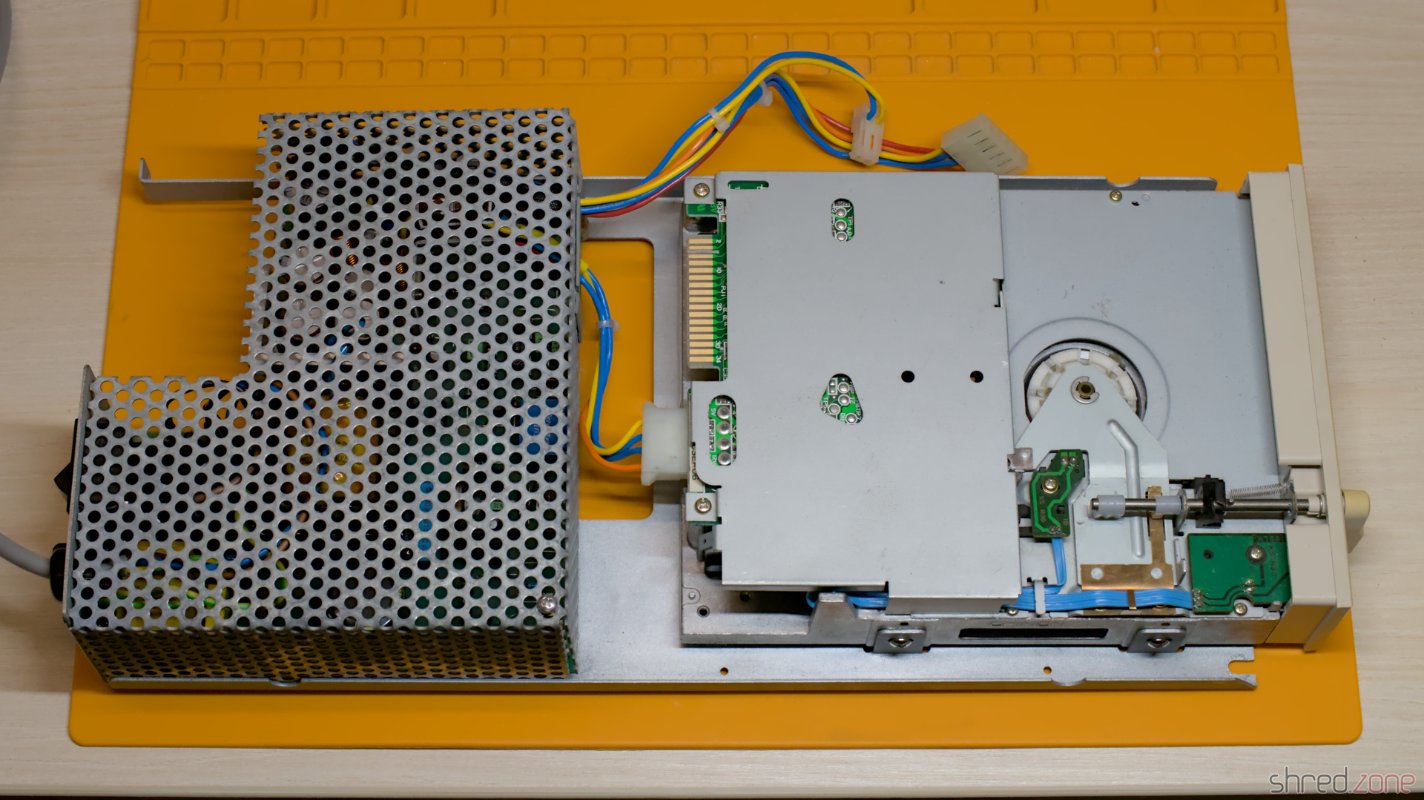
There is a metal shield supposed to be around the floppy drive, but unfortunately it was lost. It's not a required part though, and no one would notice it was missing once the case is closed.
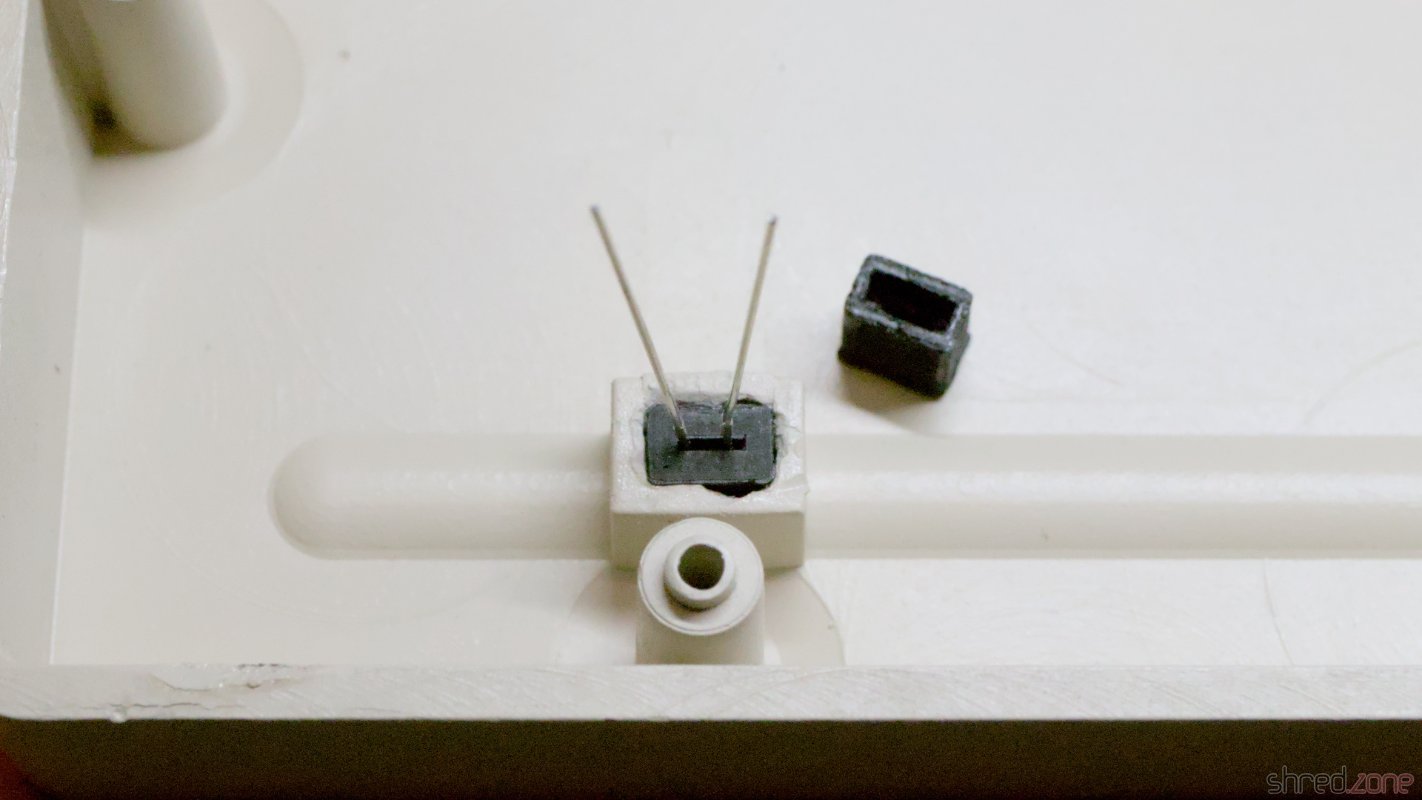
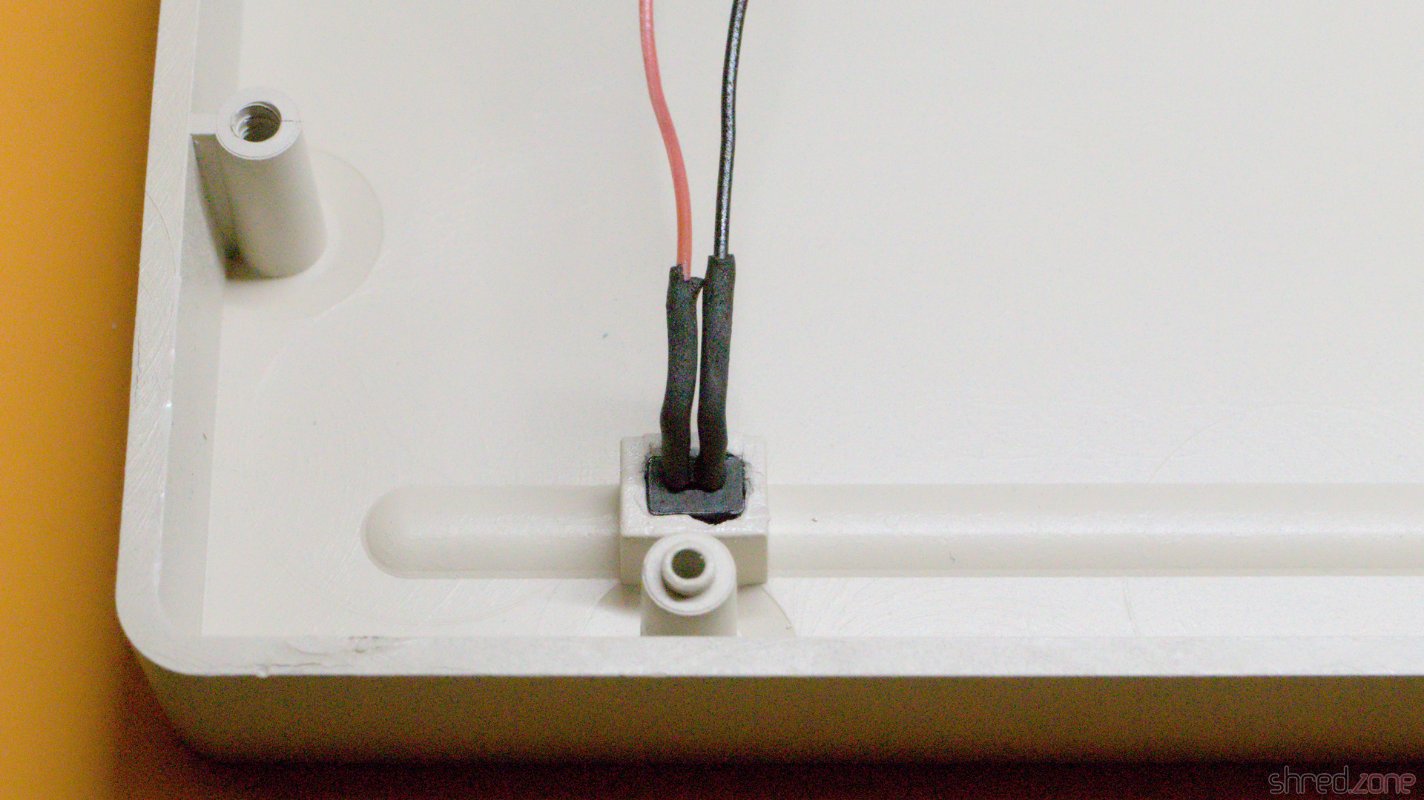
Next problem: The legs of the power LED were broken off and the LED is stuck. I had no choice but to use brute force. I drilled out the LED and the plug that held it in place. I had to be very careful. If I drilled too deep, I would ruin the look of the front.
I then used a new standard rectangular red LED and 3D printed a plug to hold it in place without glue. The new LED is held firmly in place, but could still be removed by gently pushing it out from the front side with a screwdriver.

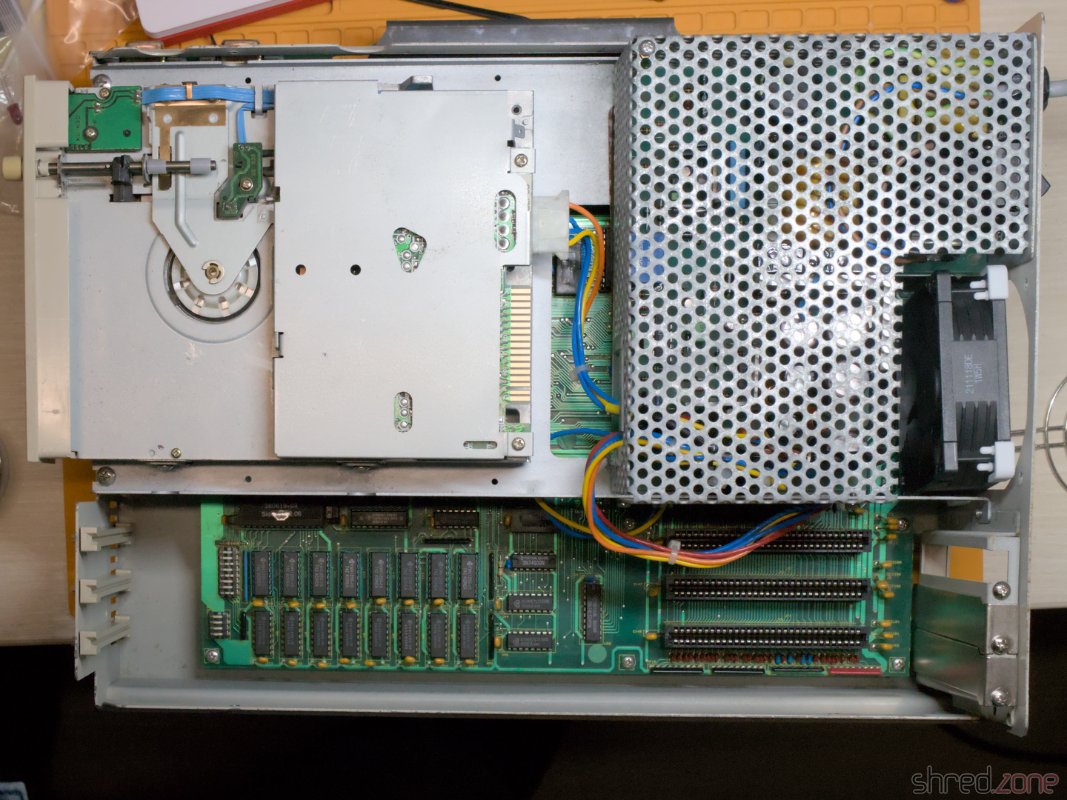
The mechanical part is done. Time for the electronics.
On the upper board only a single electrolytic cap had to be replaced. But it took a lot of unsoldering work to remove the broken Zorro connector and the six bus driver chips. The original Zorro connector was held in place by two rivets, and I had no choice but to drill them out, slightly damaging the board in the process. I then washed the board thoroughly with IPA.
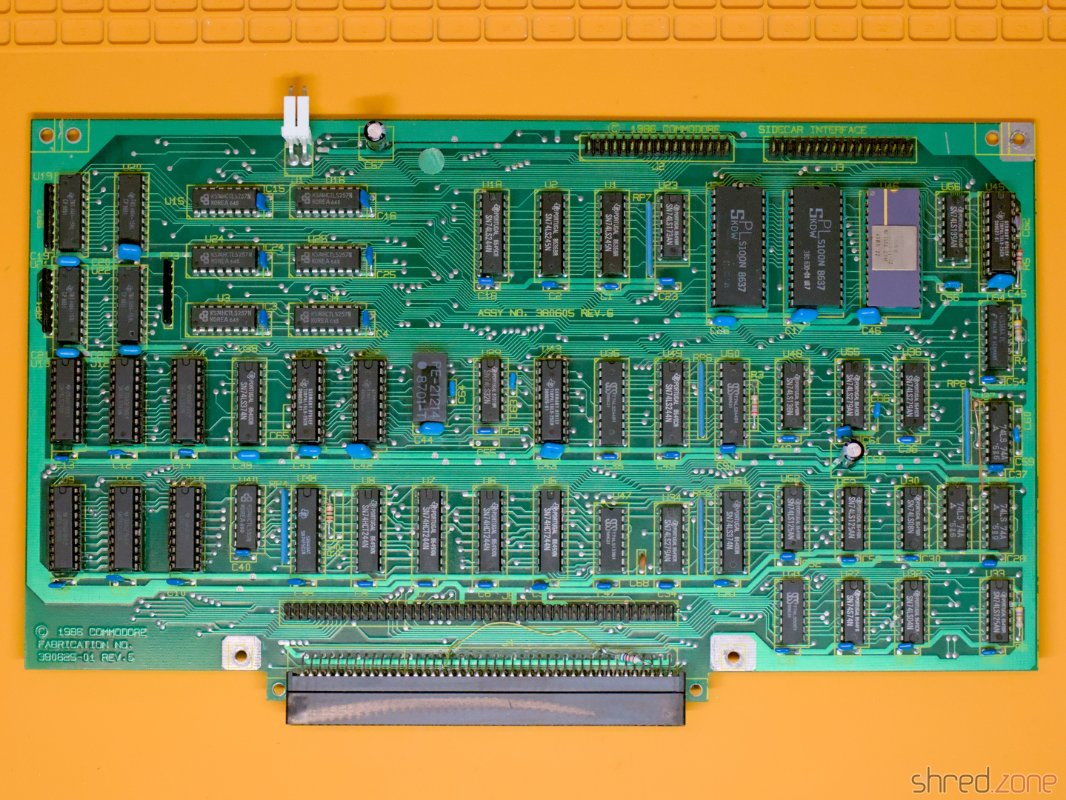
There was also a tantalum capacitor, which I replaced with a new electrolytic one. This is not really necessary, but I don't trust old tantalums. They cannot leak like electrolytic ones, but they can catch fire or explode, causing even more damage to the board than electrolyte.
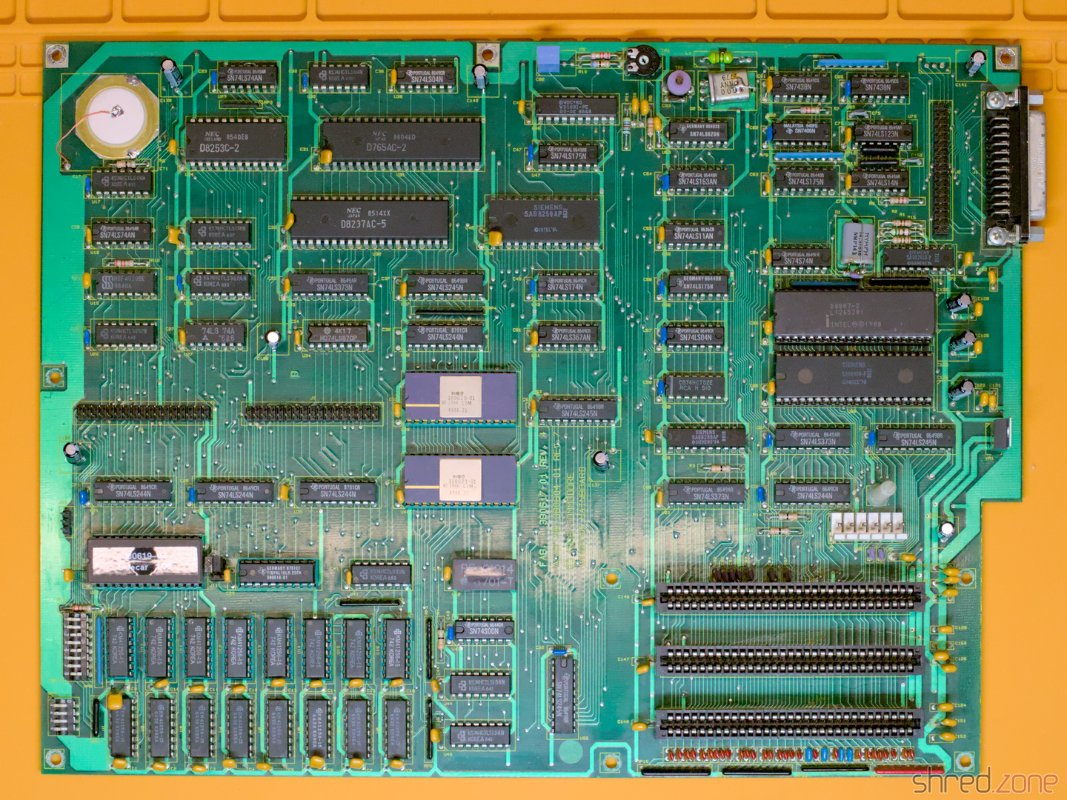
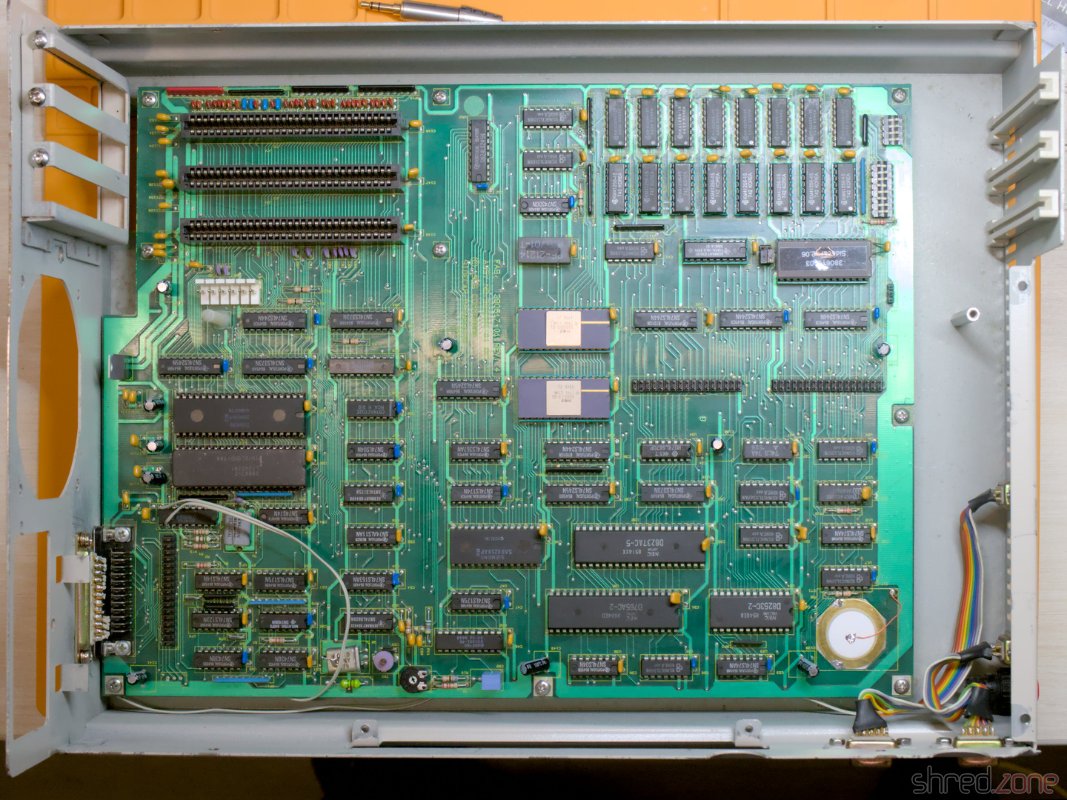
On the bottom board, there were ten electrolytic caps due for replacement. I also replaced the rusted piezo buzzer, which was a bit difficult because the new one turned out to be surprisingly sensitive to heat.
I don't like empty sockets, so I organized an 8087 FPU. Eight 41256 DRAM cells will upgrade the machine to the maximum possible 512 KB RAM. (The famous 640 KB can only be reached with a RAM expansion card.)
The installed Sidecar V2.06 firmware was the latest version I could find, so I just gave the original EPROM a new label, as the old one came off because the glue had dried out.
The board needs a new configuration after the change. Fortunately the original manual can still be found.
I also replaced all screws with new ones.
And finally, it's time for reassembly. Probably for the first time in decades, the Sidecar's case was closed again.
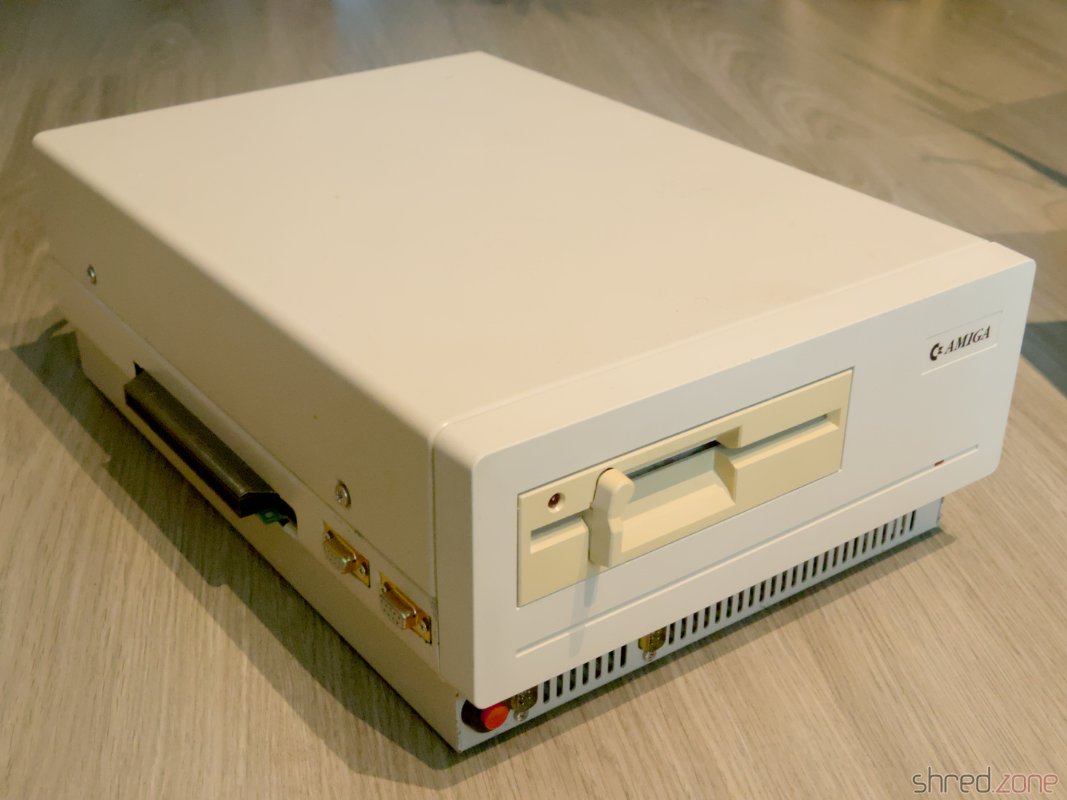
Isn't she a beauty? 😍
That's all for the second part. If you've been following my article closely, you'll have noticed that I haven't turned on the machine yet. That's right. I avoid powering up old computers without at least having the PSU inspected, because there is a risk that (after decades of storage) the PSU is defective and could damage the machine or go up in smoke.
In the third and last part I will connect the Sidecar to my Amiga and finally find out if it works.
List of Capacitors
Lower board:
- 2x 100µF 16V radial
- 8x 47µF 25V radial
Upper board:
- 1x 100µF 16V radial
- 1x 47µF 25V radial (as replacement for the tantalum at C57)